
Quickrides Knowledge Base Get Support 24/7
Discount
The Discount feature enables admins to create, manage, and track promotional coupons to drive user engagement and boost bookings.
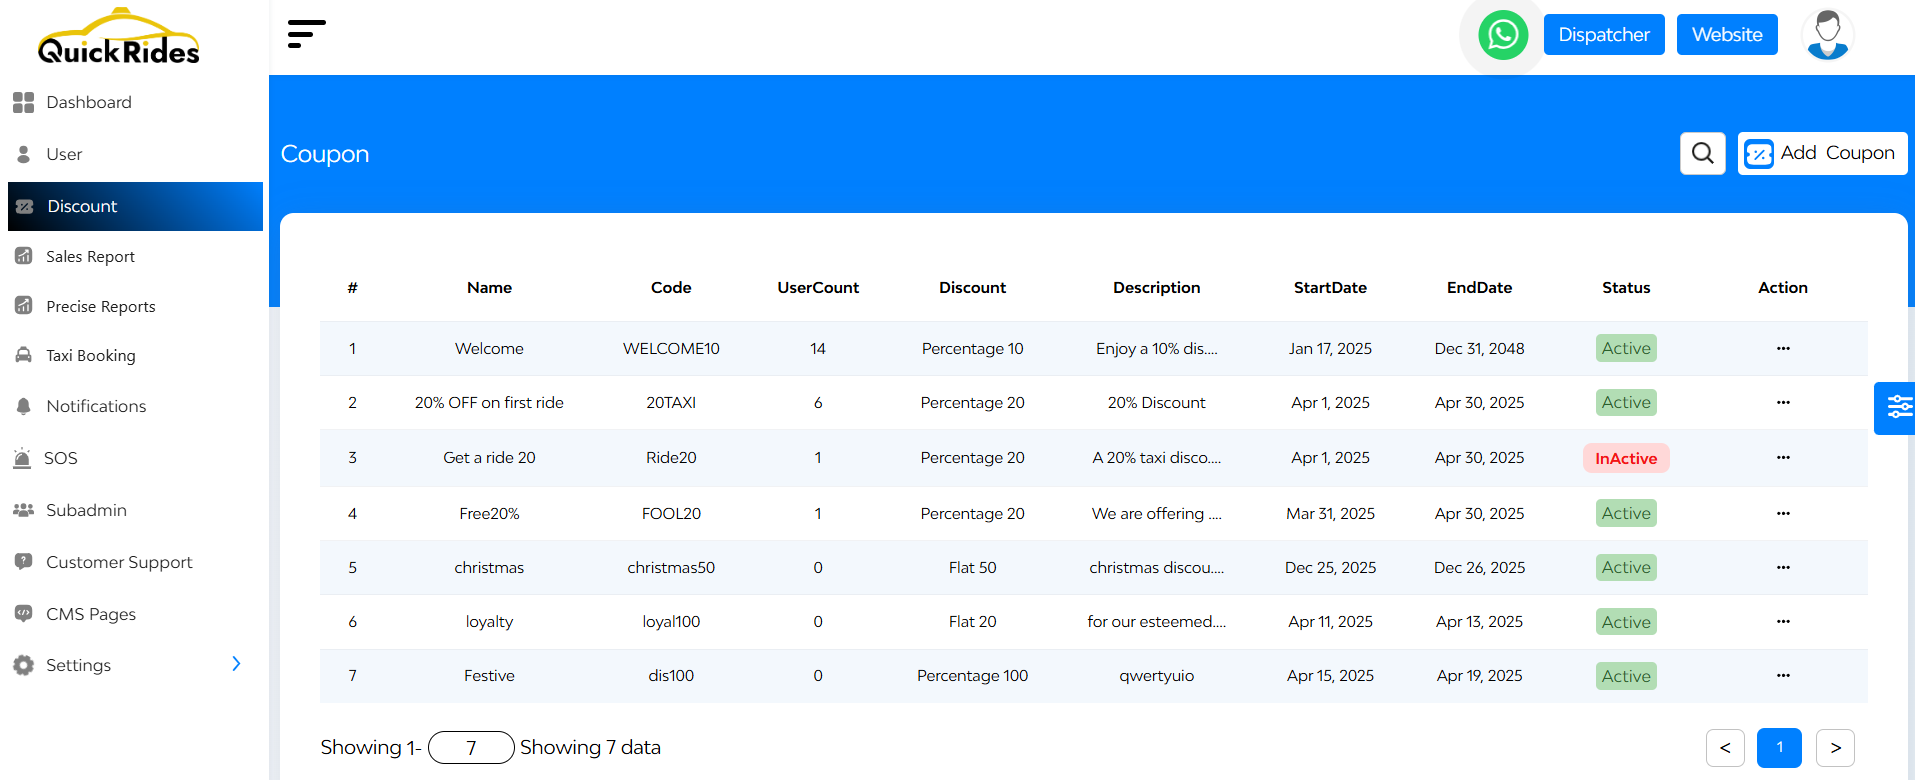
Coupon Table Breakdown
Upon accessing the Discount section, administrators are presented with a detailed list of existing coupons, each displaying the following information:
- Coupon Image & Name: Visual and title representation of the coupon.
- Module Type: Indicates the business module (e.g., Taxi, Delivery) the coupon applies to.
- Coupon Code: A Unique Code users must enter to redeem the discount.
- User Count: Number of users who have successfully used the coupon.
- Discount Tab: Displays the type (percentage/fixed) and value of the discount.
- Description: A short note or label added during coupon creation.
- Start & End Date: Defines the validity period of the coupon.
- Status: Shows whether the coupon is Active or Blocked. Admins can toggle this.
- Action Tab: Options to Edit or Delete the coupon.
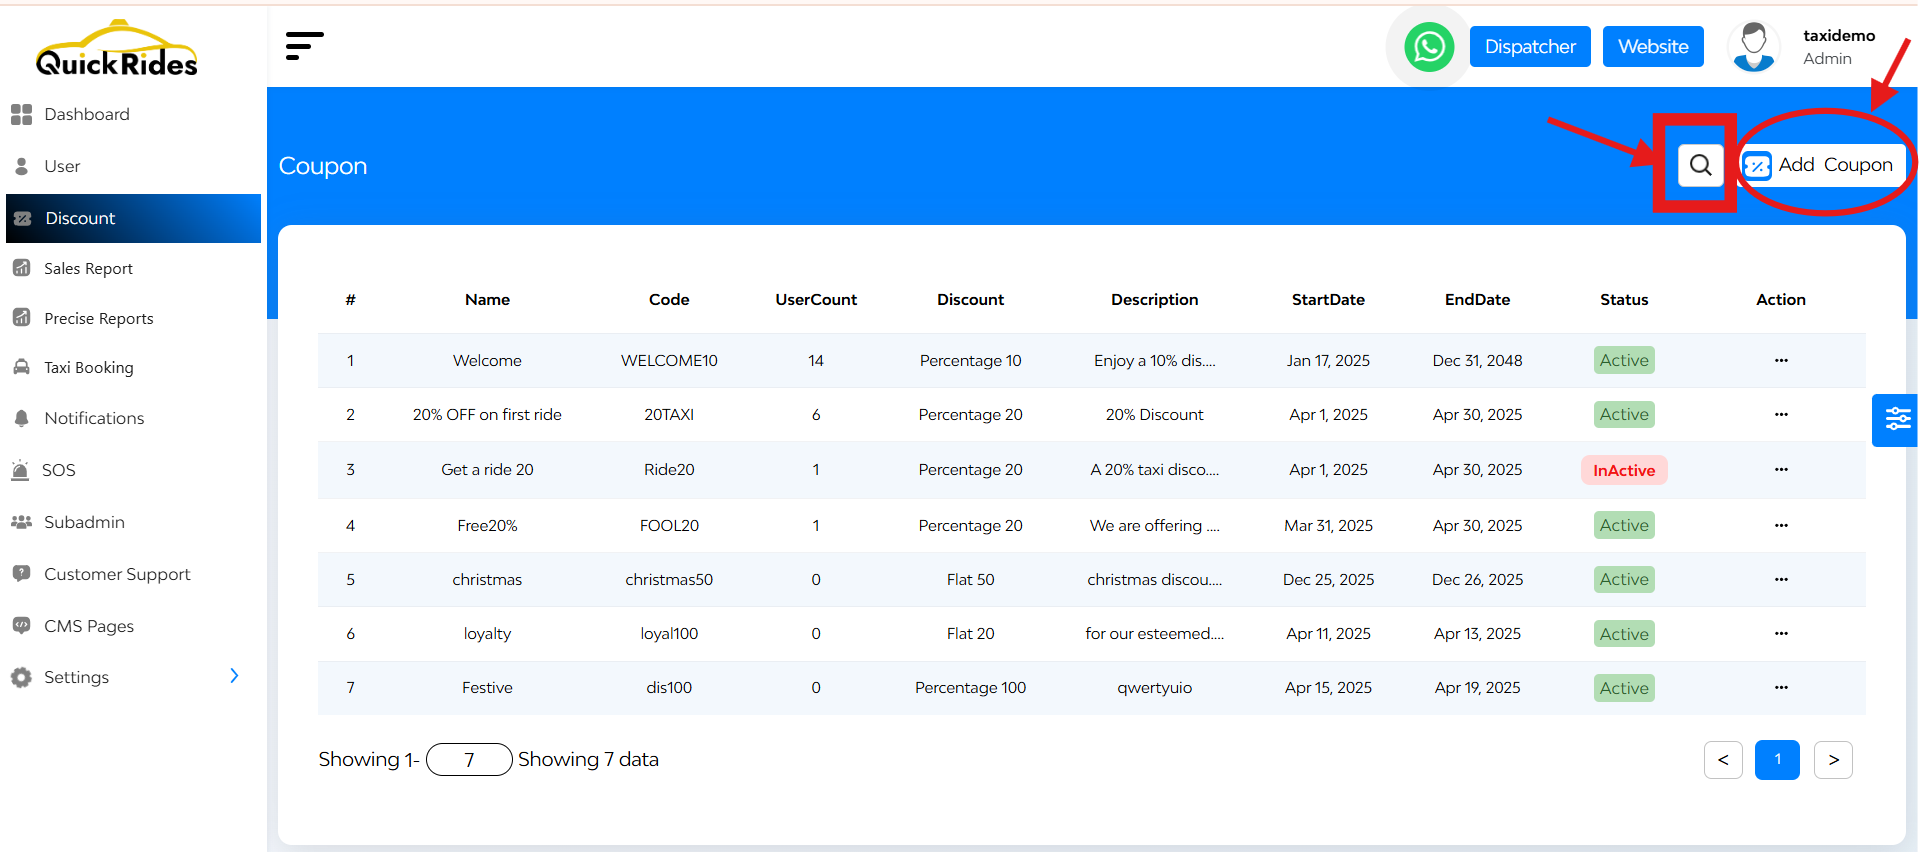
There is a search bar located at the top right corner, allowing admins to search for specific coupons by entering relevant codes. Besides that “Add Coupon” button is there.
+ Adding a New Coupon
To create a new promotional offer:

- Initiate Addition: Click on the ‘Add Coupon’ button located at the top right corner.
- Enter Coupon Details:
- Banner: Upload an image representing the coupon.
- Title: Provide a name for the coupon.
- Code: Set a unique code that users will apply.
- Description: Add details about the offer.
- Module Type: select the relevant business module.
- Discount Value: Define the type (percentage or fixed) and amount.
- Validity Period: set the start and end dates.
- Status: choose to make the coupon active or blocked.
- Save coupon: click on the ‘Add’ button to finalize and create the coupon.